

How To Draw A Spiral In Inventor
Annotation: To complete this information technology is recommended that y'all have a basic understanding of Autodesk Inventor Professional 2014

Open Autodesk Inventor Professional 2014
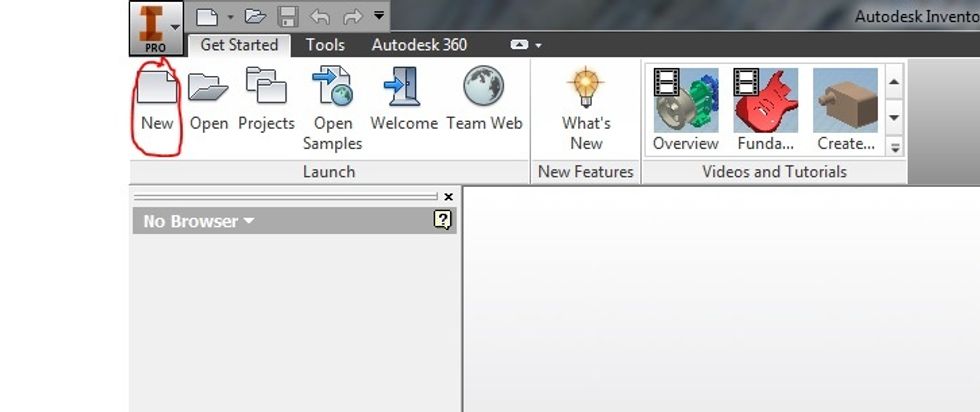
Click "New"
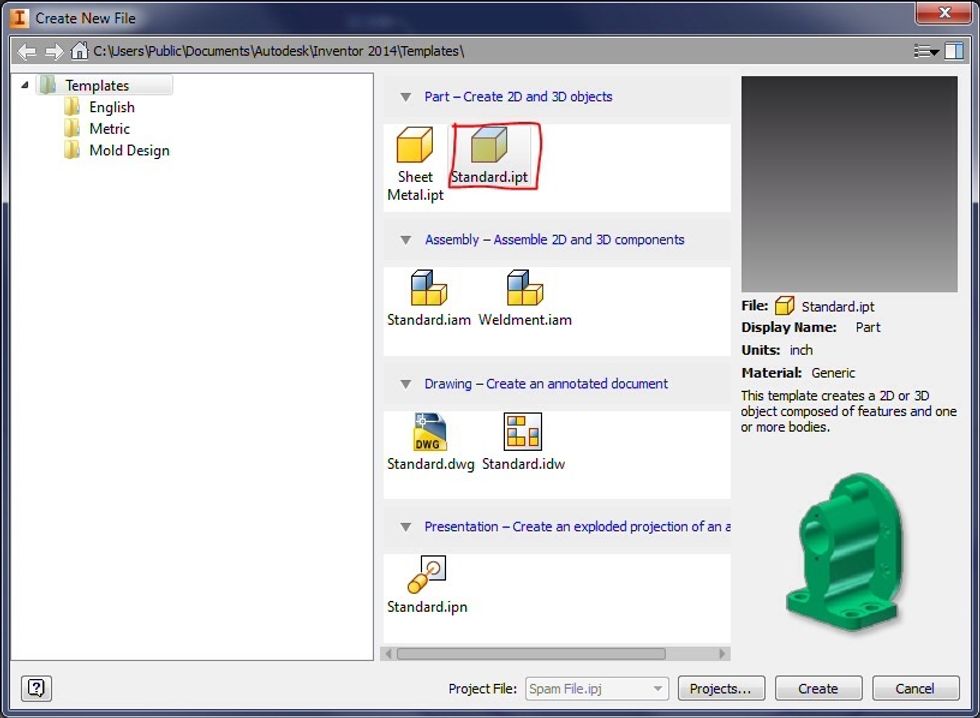
Click "Standard.ipt"
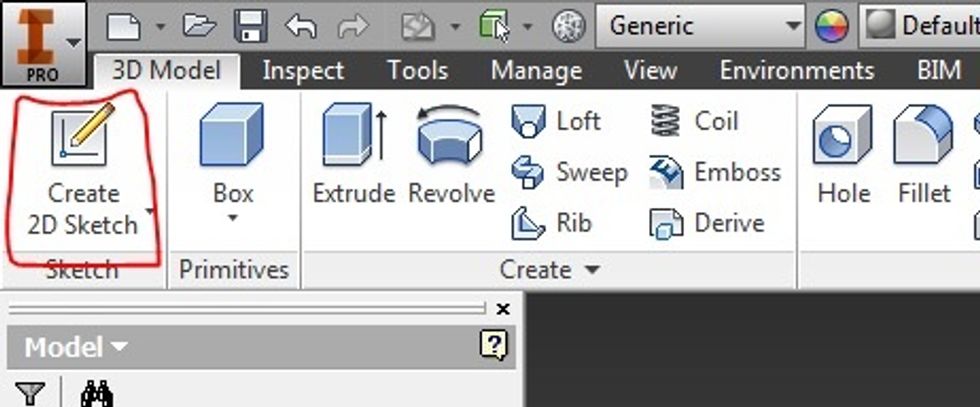
Click "Create 2D Sketch"
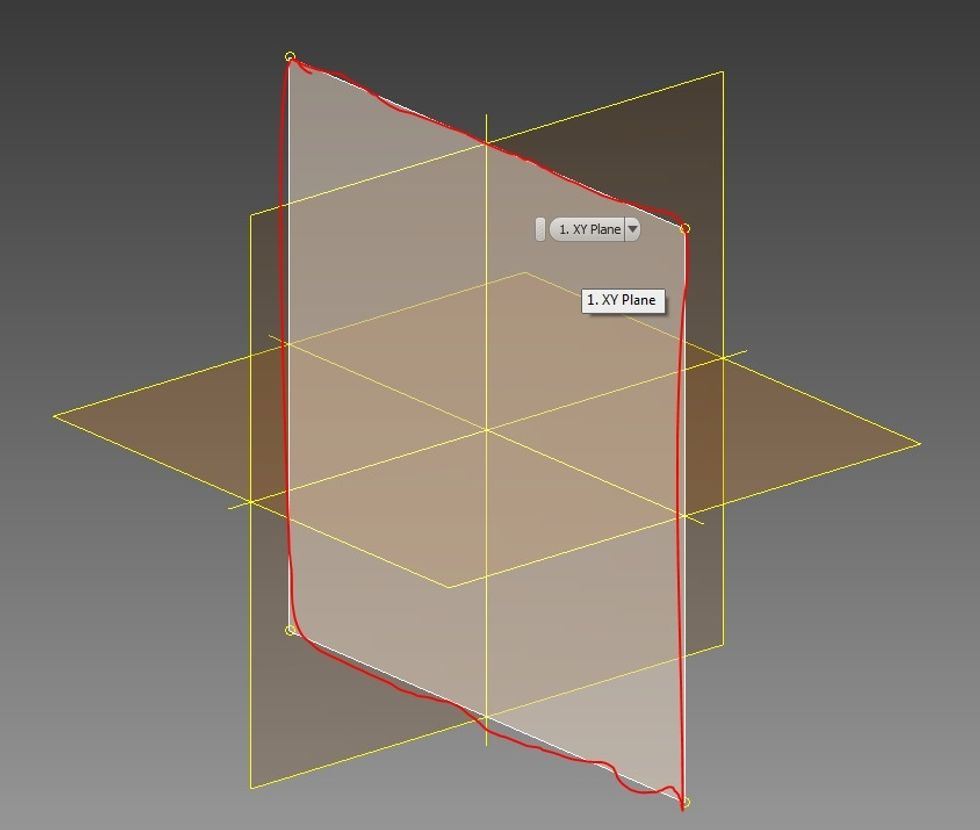
Select the XY plane
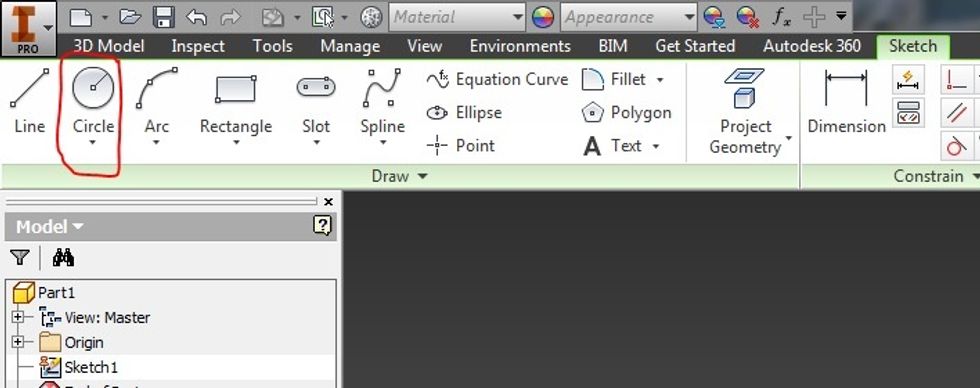
Click the circle tool
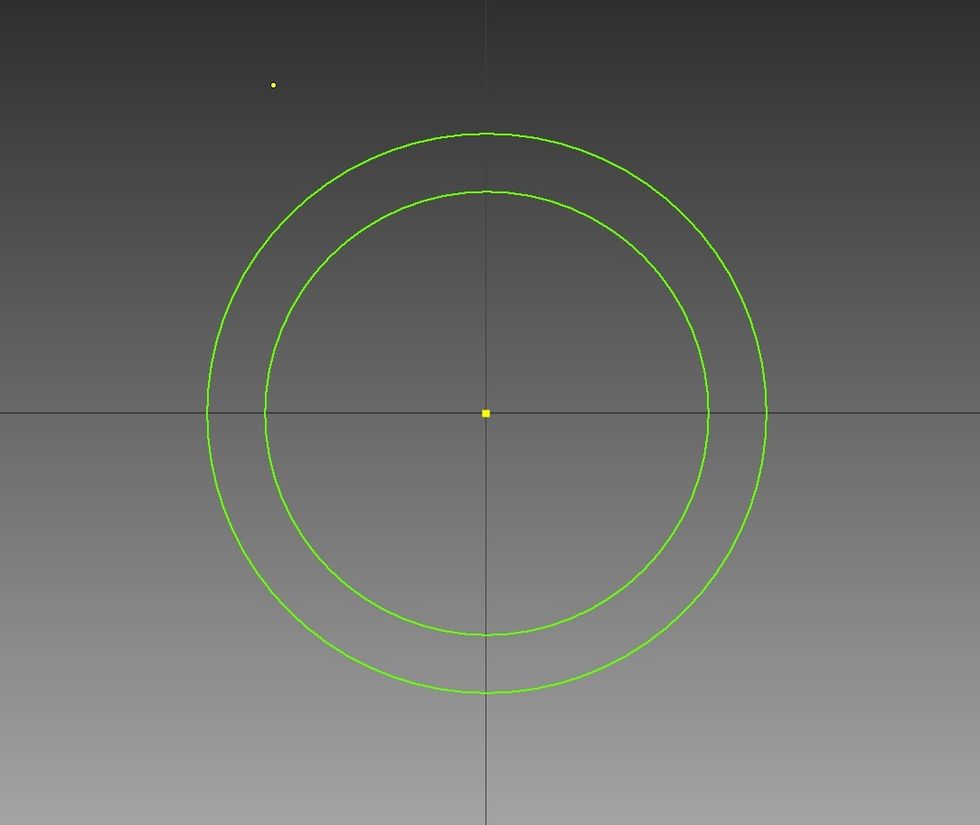
Click the center and create two circles by clicking, dragging, and clicking again when the circumvolve is the right size. Ane circle should be larger than the other
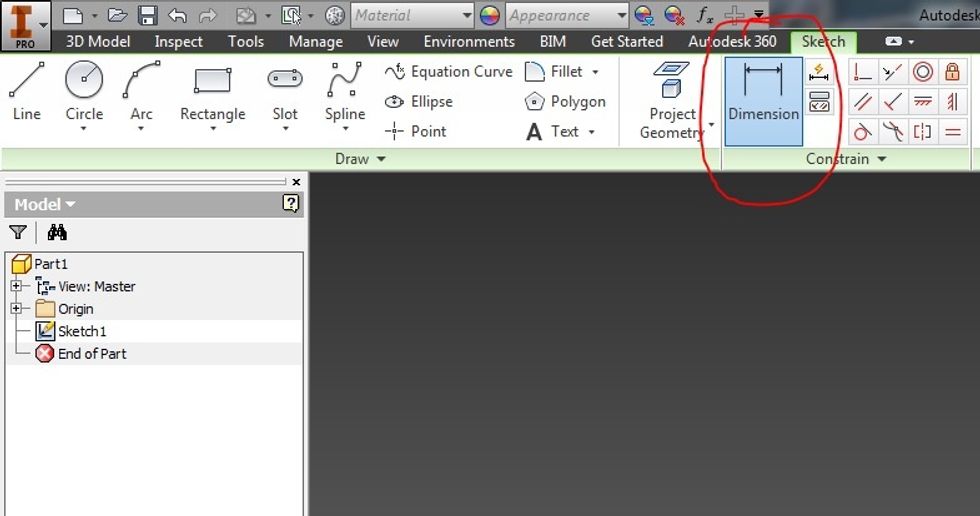
Click the dimension tool at the center of the top of the screen
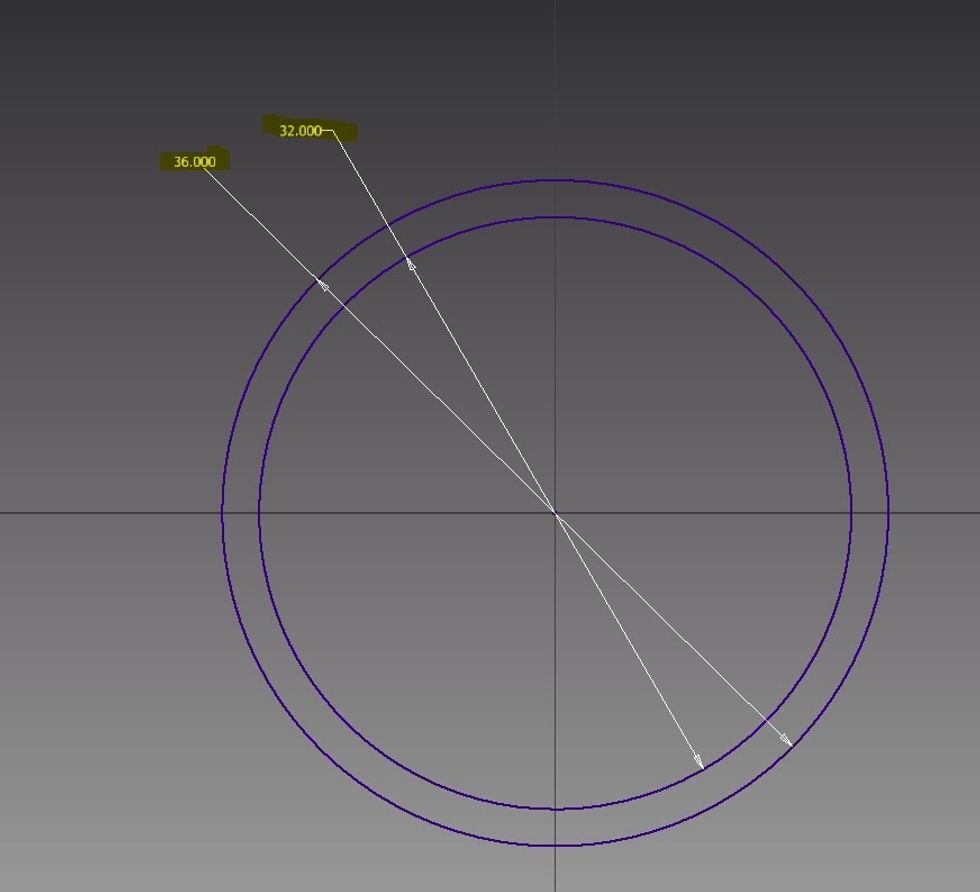
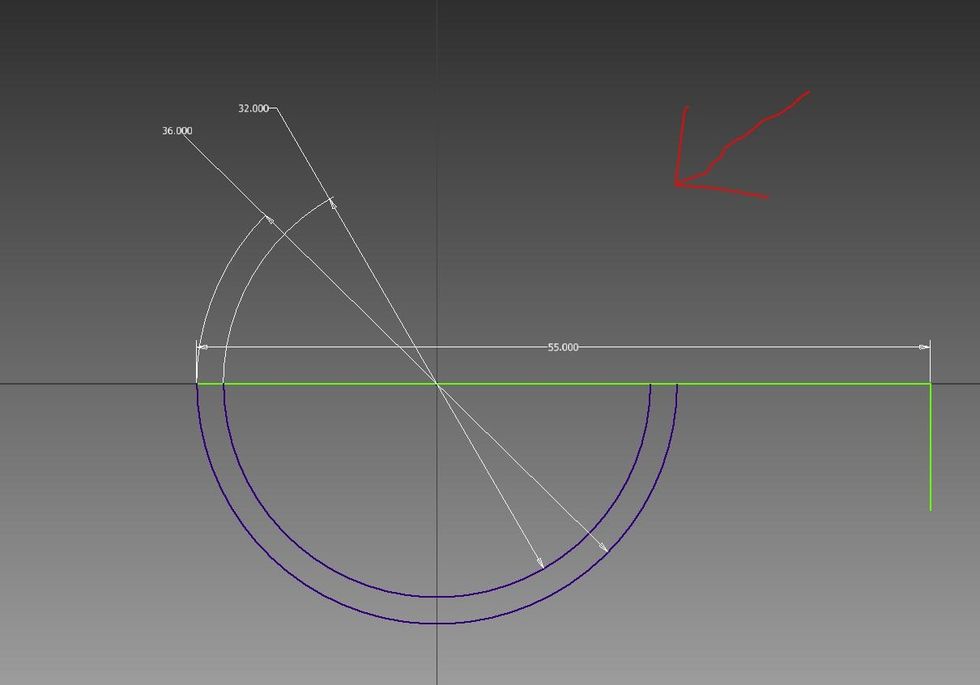
Click the outer circumvolve and alter the dimension to 36, then click the inside circle and change the dimension to 32
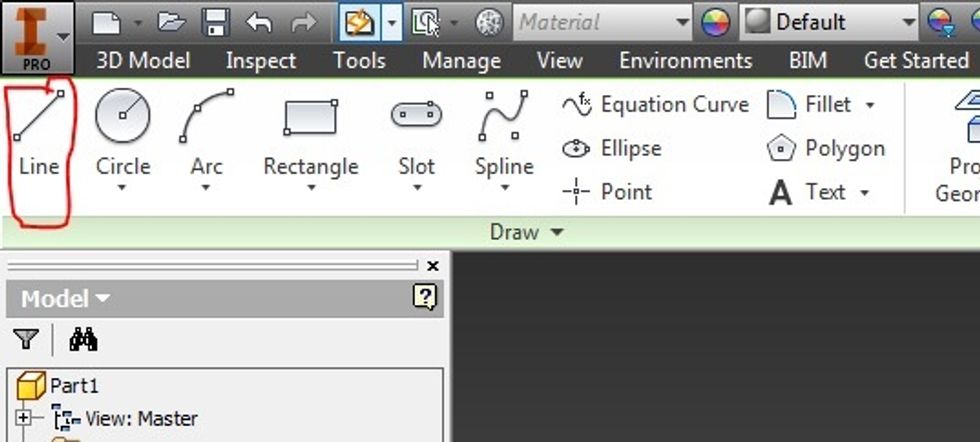
Click the line tool

Click on the x-axis where the outer circle crosses it and employ the dimension tool to make a line that is 55 inches long

Brand another line going vertically that is exactly 90 degrees of the last line. The length does not matter

Click the trim tool
Click the halves of the circles above the x-axis. They should disappear
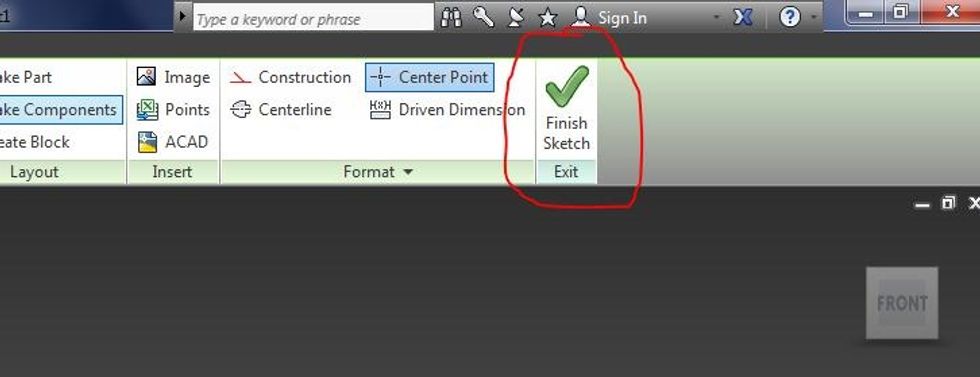
Press "Esc" on your keyboard and then click the terminate sketch "check mark" button on the screen
Zoom Out to run into the whole thing by scrolling on your mouse
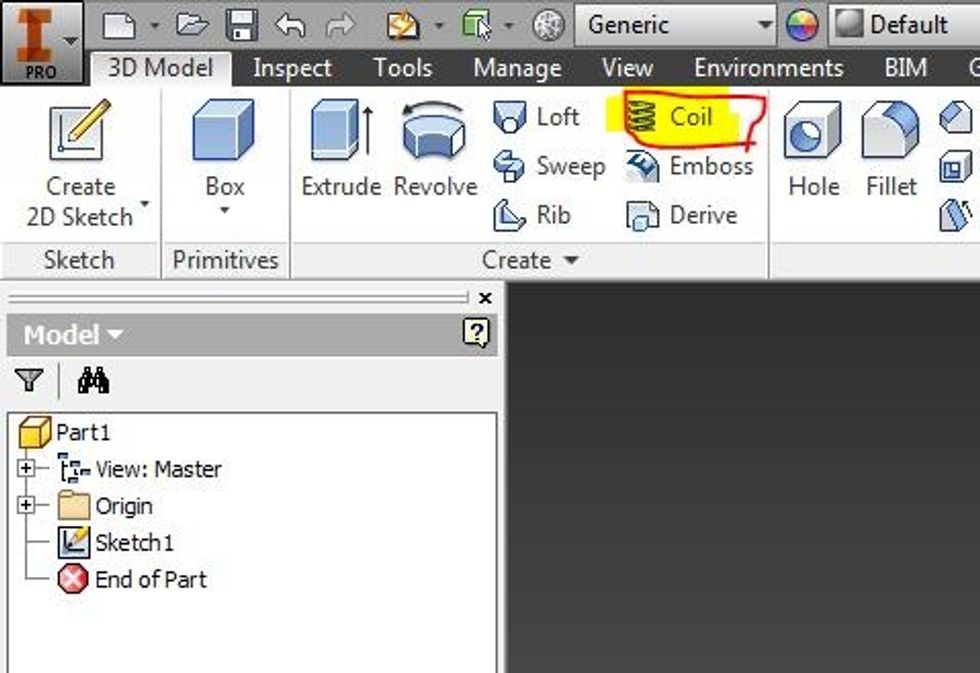
Click on the scroll tool
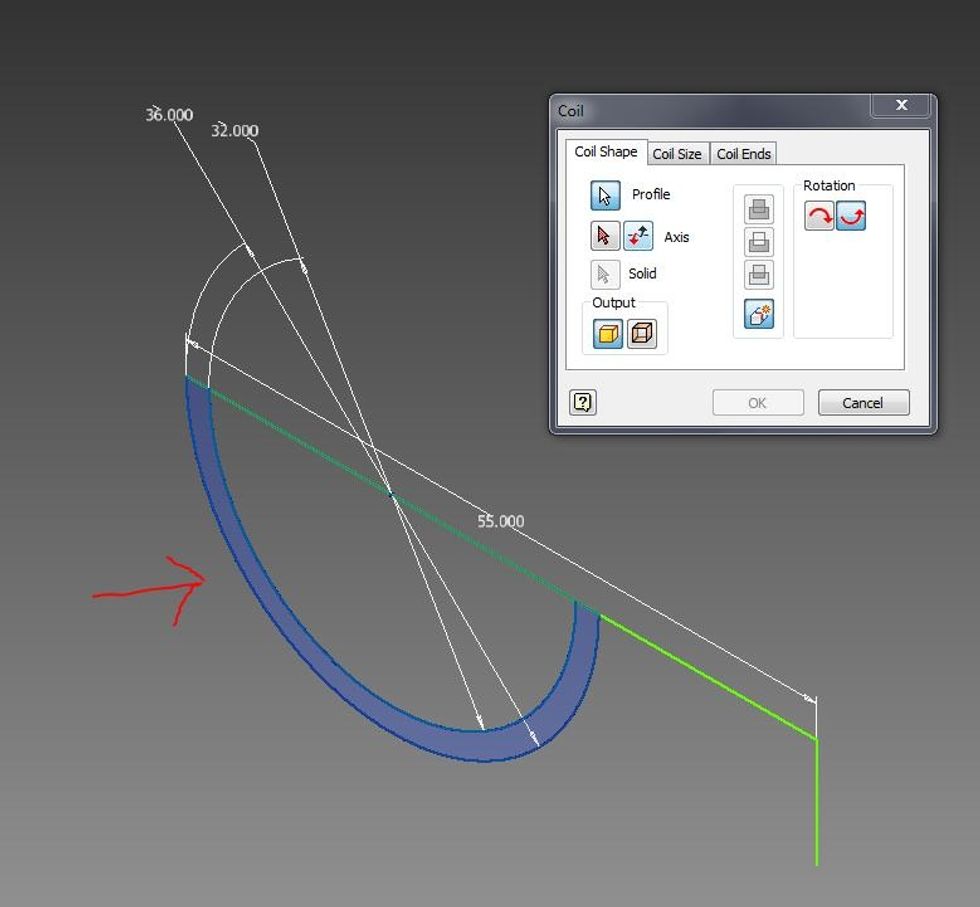
Select the contour that is shaped like a crescent moon
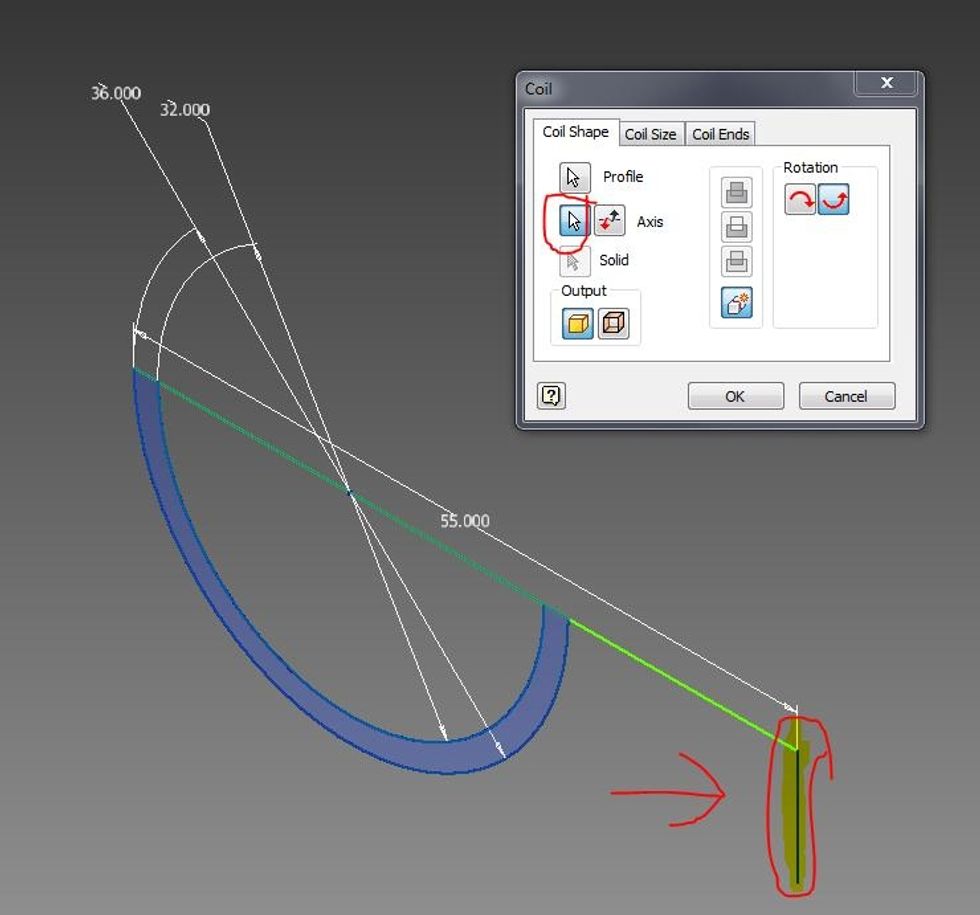
Click the kickoff axis push button with a mouse picture on information technology and and then click the vertical axis that you made
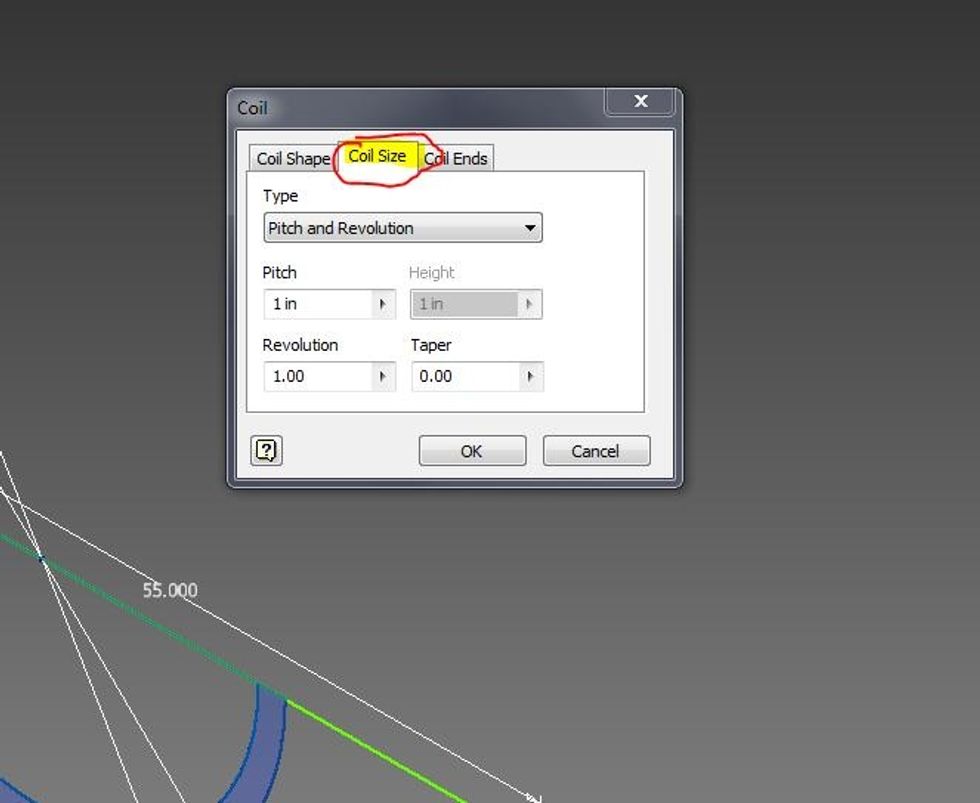
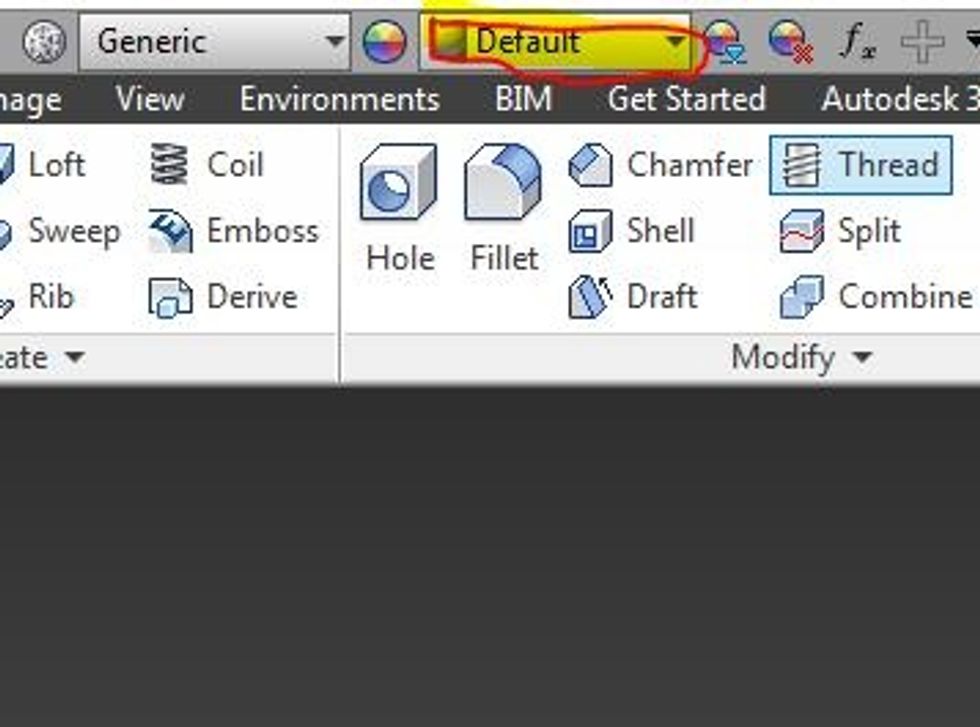
Click the coil size tab
Click the drop downward pointer and change it from "pitch and revolution" to "revolution and height" (missing pic)
Change the acme to 144 and the revolutions to iii
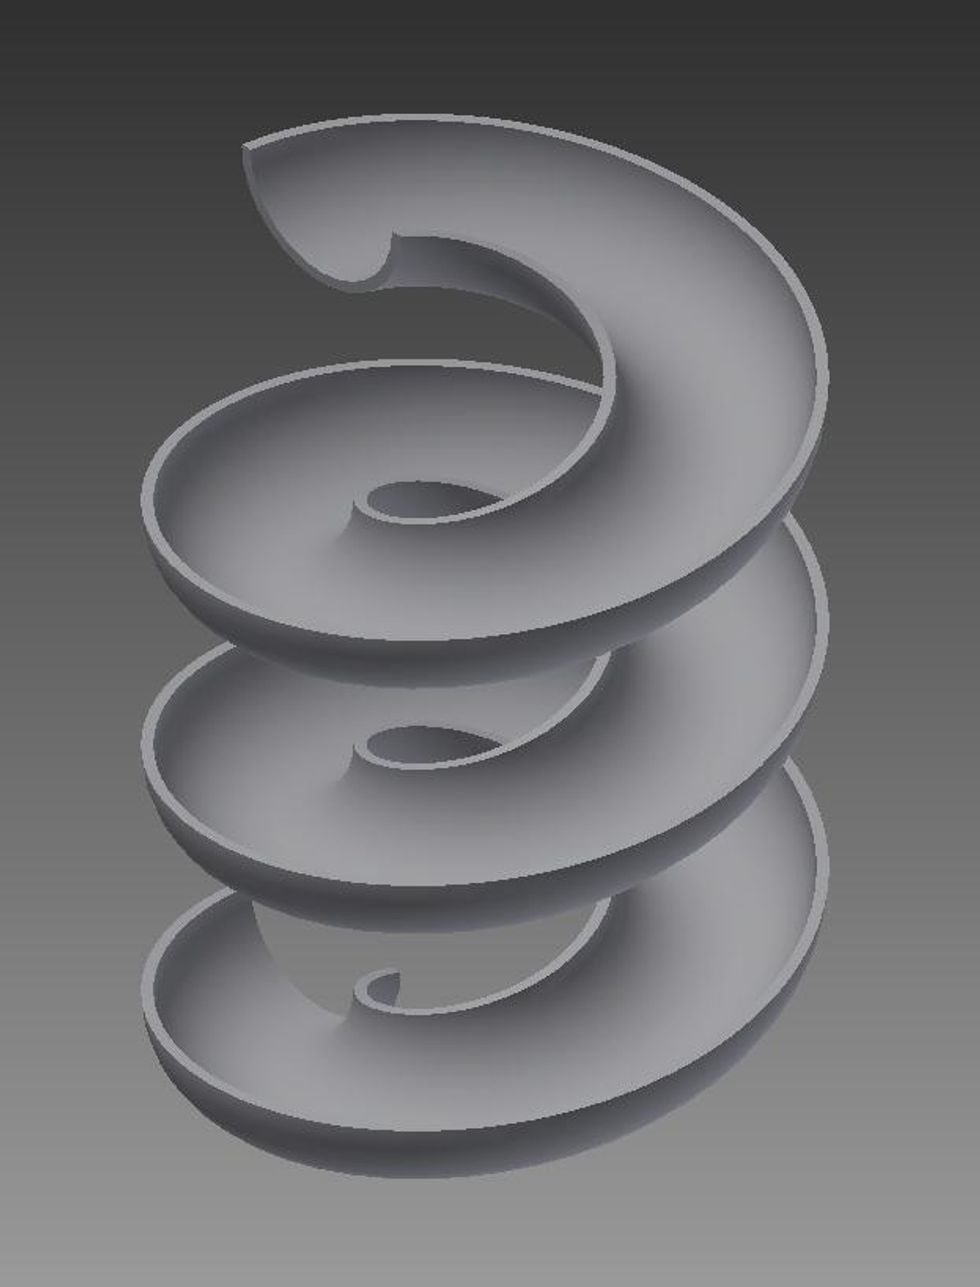
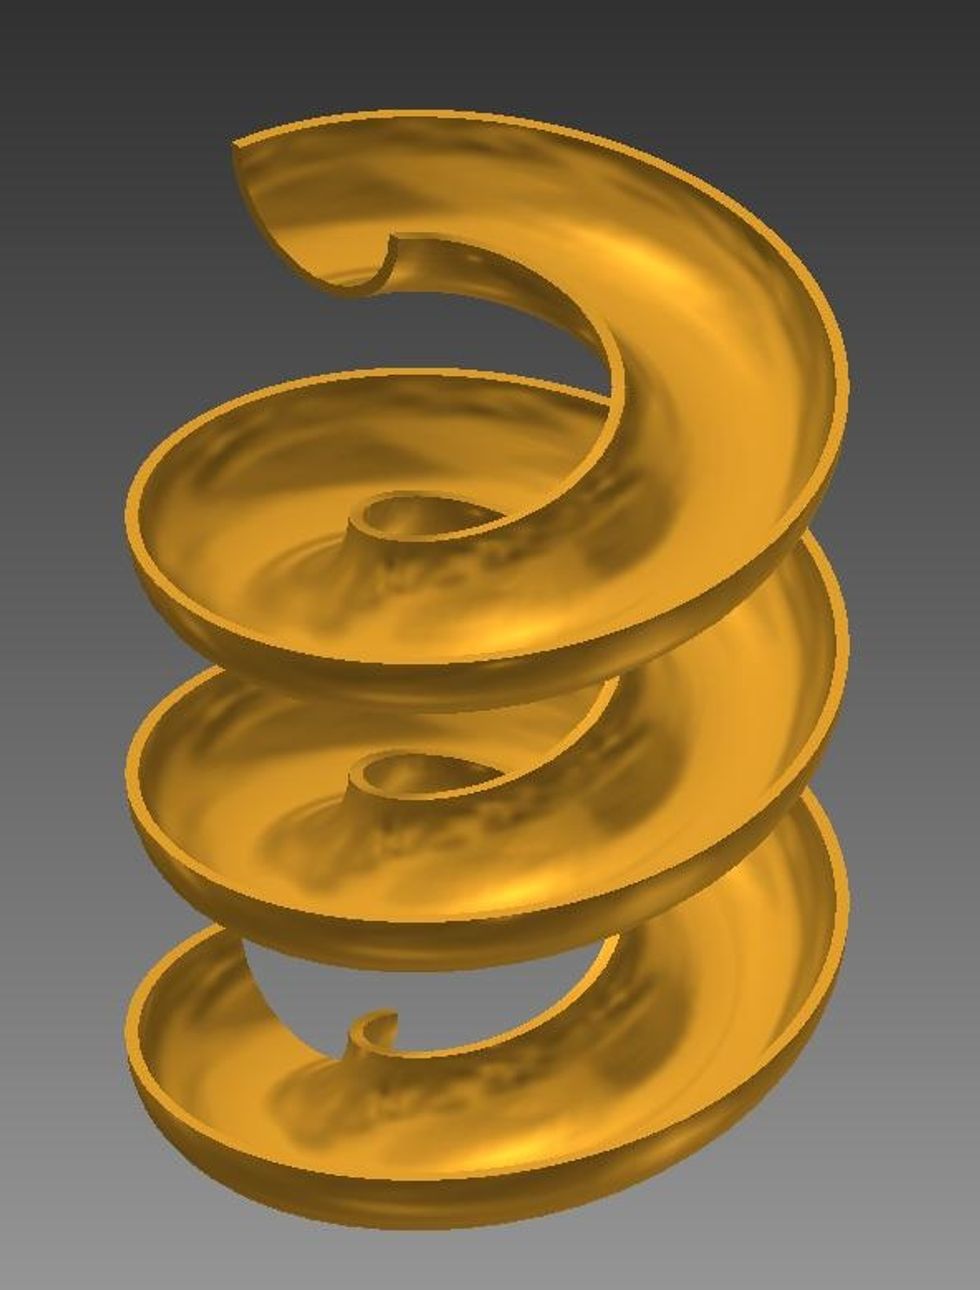
Click "OK" and zoom out
You can change the colour past clicking the appearance tab. Play around with this until you notice i y'all like!
Cheers for reading!

Source: https://guides.brit.co/guides/make-spiral-slide-on-autodesk-inventor-prof
Posted by: whisleroulty1966.blogspot.com
0 Response to "How To Draw A Spiral In Inventor"
Post a Comment